Recently I was on a quest to disable the Dropbox program from running on company owned (domain joined) machines. There were lots of hacks to make it work but finally I found a solution, although it was worded relatively cryptically, on Experts Exchange by a McKnife (http://tinyurl.com/gr3f9ar). Long story short you can use Software Restriction Policies (https://technet.microsoft.com/en-us/library/bb457006.aspx) to do this but his solution was more elegant as it blocked Dropbox programs based on the certificate used to sign them as opposed to the file path or things that might change often. This not only blocks the Dropbox program if it’s already installed but also prevents a user from installing it in the first place. Here is my expanded version of his instructions.
First download the Dropbox installer. Right click it and select Properties then go to Digital Signatures. Select the first one (SHA1) and click “Details”. Click “View Certificate” then the Details tab then “Copy to File…”. This lets you export out the certificate. Click Next then “Base-64 encoded X.509 (.CER)” and next again. Save the certificate as something like “Dropbox SHA1 Cert.CER”. Once that one is exported repeat the procedure for the SHA256 certificate.
Once you have both certificates open up Group Policy Management and if you already have a software restrictions policy edit it. If not I suggest you create a new one. Navigate to Computer Configuration -> Policies -> Windows Settings -> Security Settings -> Software Restriction Policies -> Additional Rules. Right click and create a “New Certificate Rule”. Browse for the SHA cert and make sure the Security Level is set to Disallow. Give it a description such as “Dropbox SHA Certificate”. When you click OK, if you didn’t have any certificate rules before, it will prompt you to turn them on and display the “Enforcement Properties” page. At the bottom “Enforce certificate rules” then “OK”. Repeat for the SHA256 certificate.
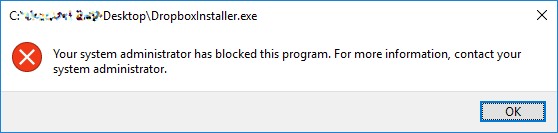
Once GPO updates Dropbox will no longer start and executing the exe or installer directly will give you a nice error message:
Side note: Once this policy is in place you will also not be able to uninstall Dropbox since the same certificate is being used on the uninstall. Keep that in mind…you would have to disable enforcing certificates temporarily to get it uninstalled.